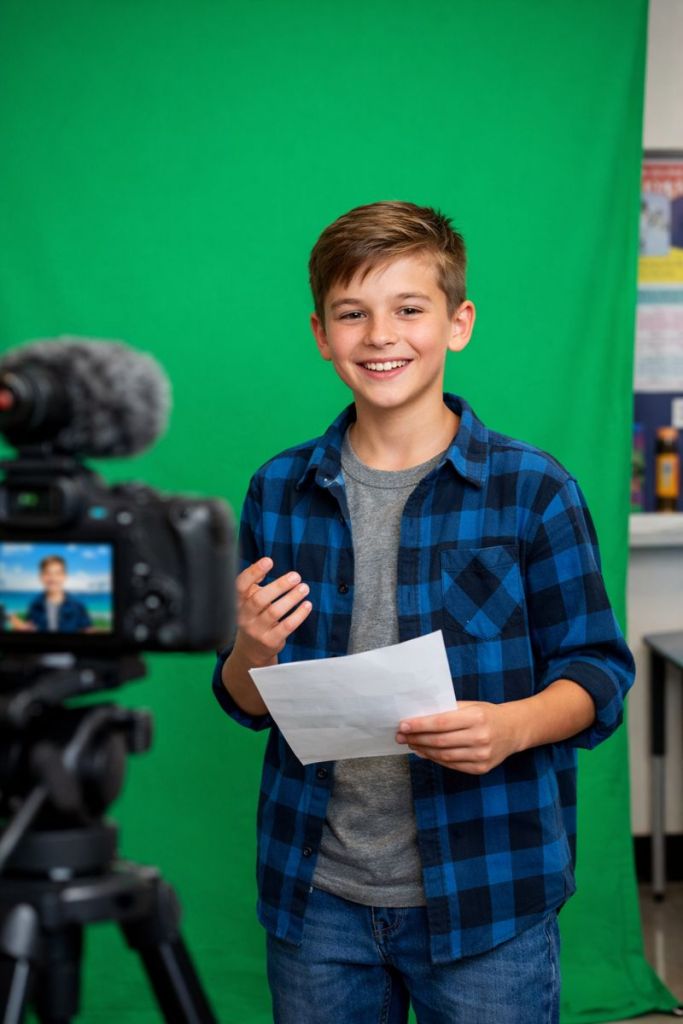
In my classroom, the green screen isn’t something we pull out once a semester — it’s always there. We use it for our daily news videos, and it’s become a familiar part of our routine. What’s interesting, though, is what happens outside our room.
When my door is open, students walking by slow down. They peek in. They stop and watch. Throughout the day, I hear the same question over and over:
“How can I be on the news?”
Students want a turn at the green screen. They’re curious, excited, and eager to participate — not because it’s graded, but because they want to be part of something that feels real.
Green screen projects combine several things students crave:
- Purpose (they’re creating something meaningful)
- Choice (how they present matters)
- Visibility (their work feels real and shareable)
- Movement and collaboration (they’re not stuck in a seat)
That constant interest has been a powerful reminder: green screen projects naturally draw students in. They spark curiosity, invite participation, and give students a reason to care about how they communicate. When students see their peers creating content that looks like real media, engagement doesn’t have to be forced — it shows up on its own.
That’s why green screen projects are so effective in classrooms. They don’t just add excitement; they combine creativity, student voice, and active learning in a way that instantly raises buy-in. In the sections ahead, we’ll break down why this works, how it supports learning (not just novelty), and how teachers can use green screen projects intentionally to boost engagement across grade levels.
What “Green Screen” Means in the Classroom
In a classroom, green screen is refreshingly simple. It usually involves:
- A solid green background (fabric, bulletin board paper, or a pop-up screen)
- A camera (Chromebook, tablet, or phone)
- A tool that replaces the green background with images or video
That’s it.
Students stand in front of the green background, record themselves, and layer in visuals that support what they’re explaining — a weather map, a historical image, a diagram, or even student-created slides.
The magic isn’t the effect. It’s what students do with it.
When green screen is used well, students are:
- Explaining ideas in their own words
- Matching visuals to meaning
- Planning, revising, and refining explanations
Green screen becomes a performance of understanding, not just a flashy add-on.
How Green Screen Projects Tap Into Engagement
1. Ownership
Green screen projects give students real decision-making power. They choose how to explain, what visuals to use, and how to present their thinking. That sense of ownership leads to longer focus, more revision, and higher-quality work.
I often notice students re-recording clips by choice — a clear sign they care about the outcome.
2. Creativity With Purpose
This isn’t “do whatever you want” creativity. It’s structured creativity.
Students still have a clear academic goal — explain a process, defend a claim, teach a concept — but they get room to personalize how they communicate. This balance is especially powerful for students who struggle with traditional written tasks.
3. Authentic Student Voice
Speaking in front of a green screen feels different than reading aloud at a desk. Students think about tone, clarity, pacing, and audience. They hear themselves explain ideas — and that alone deepens understanding.
For English learners, students with IEPs, and quieter students, green screen offers a safe, redo-friendly way to practice academic language.
4. Real-World Relevance
Students live in a world of video. Green screen projects mirror formats they recognize:
- News reports
- Tutorials
- Interviews
- Explainer videos
When school tasks feel real, students are far more willing to invest effort.
Cognitive Benefits That Boost Attention and Recall
Green screen projects support how the brain learns.
Students are:
- Seeing information (visuals)
- Saying information (spoken explanation)
- Hearing themselves explain ideas
This combination strengthens memory and understanding. It’s a classic example of dual coding and active processing — far more effective than passive note-taking.
Speaking also forces clarity. Gaps in understanding become obvious the moment a student tries to explain something out loud. That’s when real learning happens.
Social Benefits: Collaboration and Communication
Green screen projects naturally promote meaningful collaboration.
Students often work in roles such as:
- Presenter
- Script writer
- Director
- Editor or designer
Each role matters. Because the final product depends on everyone, participation is more balanced than in many traditional group projects.
Peer feedback also becomes more concrete:
- “That part was confusing.”
- “You spoke too fast there.”
- “That image doesn’t match what you said.”
These conversations build communication skills students will use far beyond the classroom.
Real Classroom Examples That Work
- ELA: News reports, character monologues, book trailers
- Science: Explaining cycles, systems, or lab results
- Social Studies: Historical interviews, time-period news broadcasts
- Elementary: Math strategy explanations, story retells, short reflections
Across subjects and grade levels, the most successful projects share one thing:
Students use green screen to communicate understanding, not decorate content.
Quick Teacher Tips to Get Started
- Start with a clear learning goal
- Require a short script or planning sheet
- Keep videos short (1–2 minutes is plenty)
- Assign roles for group work
- Post a simple workflow so students know what comes next
Your first project doesn’t need to be perfect. Treat it as practice — it gets smoother fast.
Common Pitfalls (and How to Avoid Them)
Pitfall: Too much focus on effects
Fix: Grade content separately from creativity
Pitfall: Too many tools
Fix: Use one tool consistently
Pitfall: Projects take too long
Fix: Set strict time limits and amount of re-records
Pitfall: Uneven group work
Fix: Assign roles and rotate them
Clear structure keeps engagement high and frustration low.
Quick Engagement Checklist
Before
- ☐ Clear learning target
- ☐ Planning or script required
- ☐ Time limits set
During
- ☐ Students know expectations
- ☐ Visuals support meaning
- ☐ Opportunities to revise
After
- ☐ Reflection included
- ☐ Feedback focused on understanding
- ☐ Learning goal revisited
Final Thought
Green screen projects work not because they’re flashy, but because they align with how students learn best — through active thinking, communication, and creation.
That’s exactly what I’ve seen in my own classroom. Our daily news videos didn’t just become a routine — they became a motivator. Students ask to be involved, volunteer ideas, and take pride in how they present information. The green screen gave them a purpose and an audience.
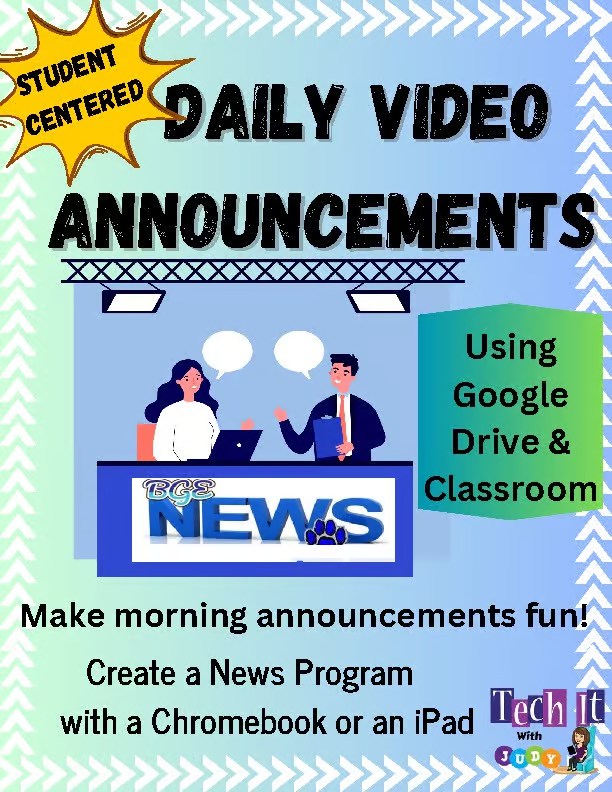
To make this process manageable and student-centered, I created a ready-to-use Daily Video Announcements resource you can find on Teachers Pay Teachers.
https://www.teacherspayteachers.com/Product/Student-Centered-Daily-Video-Announcements-9918202
Whether you start with daily announcements or a short content-based project, the key is the same:
Start small. Keep it focused. Let students take ownership.
That’s when the magic happens.
Stay Connected
If you found this helpful and want more ideas like this, I’d love to stay in touch.
I regularly share:
- Classroom-tested instructional technology strategies
- Student-centered project ideas
- Practical tips for managing media projects like green screen and student news
Sign up for blog updates and my newsletter to get new posts, resources, and classroom ideas delivered straight to your inbox.
Click here to sign up: https://lp.constantcontactpages.com/sl/0uzHPzA
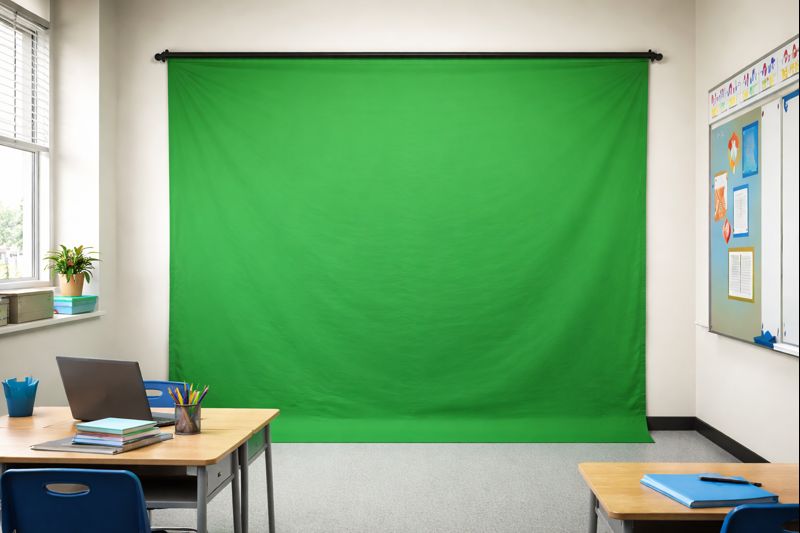
Getting started with green screen projects doesn’t have to be complicated—or expensive. An inexpensive, wall-mounted green screen like this one is a great entry point because it can stay up and be ready whenever students need it. You don’t need a full studio setup; a smooth, wrinkle-free surface and decent classroom lighting are enough to get solid results. Once it’s up, students can jump right into creating weather reports, historical scenes, science explanations, or storytelling projects without losing momentum to setup time. The biggest win is consistency—having a dedicated green screen space makes video creation feel like a normal part of learning, not a special event.
Quick note: If you choose to use the Amazon link, it’s an affiliate link, which helps support this work at no extra cost to you. I only recommend tools that are practical and classroom-tested.

Leave a comment